


Photos (1)
Here are some more photos. If you have any that you would like to add please get in touch. I do have photos on all of the other pages on the site and I hope you find them of interest.
All the photos below are copyright © and courtesy of unless otherwise stated.
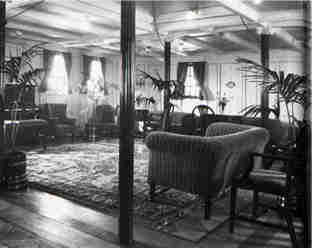
The lounge/music-room
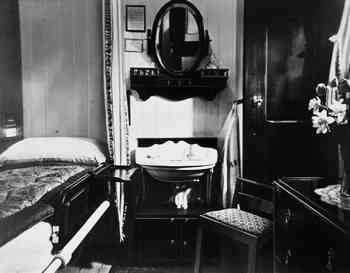
Double-bedstead cabin
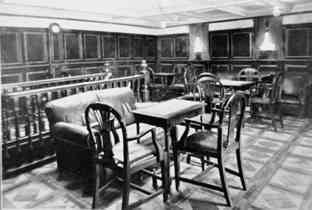
The card-room
Courtesy and © of Glasgow Archives
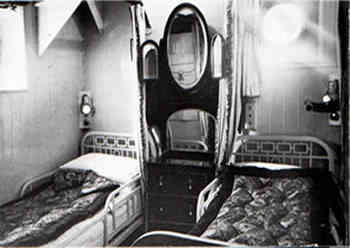
Single-bedstead cabin
Courtesy and © of Glasgow Archives

The lounge/music-room
Courtesy and © Glasgow Archives
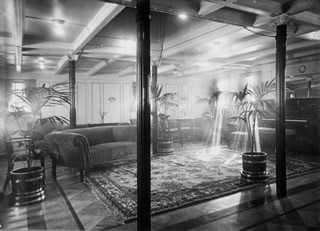
Courtesy and © Glasgow Archives
The lounge/music-room

Joan Redl
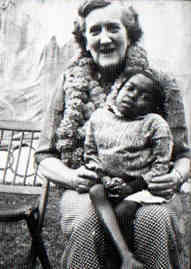
Lady May Almond
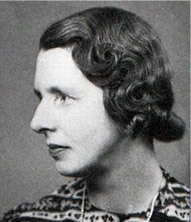
Dr. Marjorie Miller
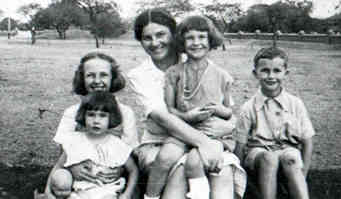
The Simms Family
Mary [left] with Esther Eileen Simms [centre] with Lisa, David [right]

Esther, Mary, Lisa, David (2011)
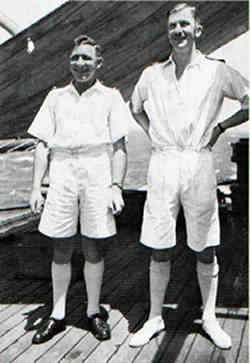
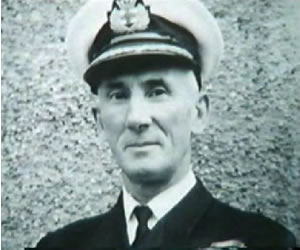
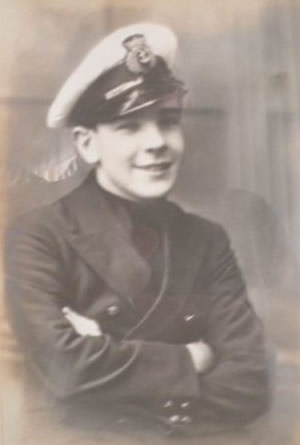
4th Officer W.Stubbs and Dr. D.Quantrill
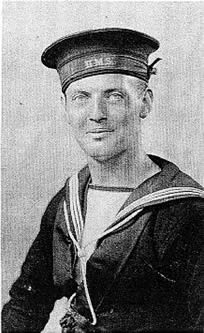
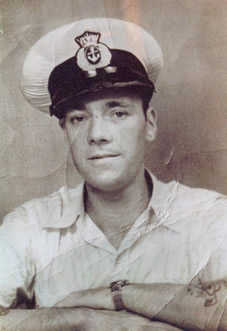
D.E.M.S. R.N. Gunner Kennie MacLennan 6 July 1941.
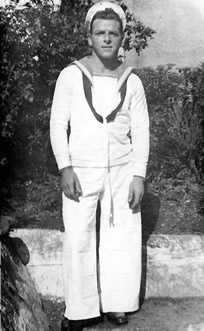
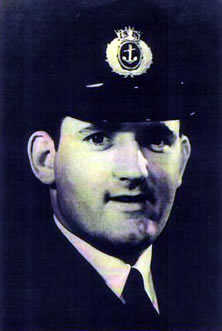
D.E.M.S. R.N. Gunner Hugh M. Porterfield
Courtesy of Laura Porterfield
Photo of Kennie MacLennan by and courtesy of. Photo of ss CITY OF CAIRO [below] from author's file.
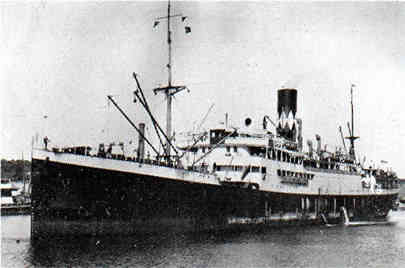
ss CITY OF CAIRO wearing the colours of Bucknall Line.
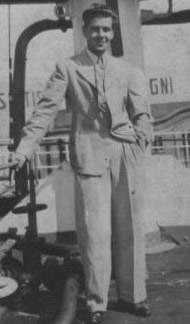
3rd engineer Horace D. Broomby
Photo courtesy of Julia Carr
W. Ferdinand Dieckhaus and son Ferdinand
Courtesy of Peter Dieckhaus
[Peter] Ferdinand Dieckhaus 2018
Courtesy of Peter Dieckhaus
W.Ferdinand Dieckhaus and Avis Dieckhaus
Courtesy of Peter Dieckhaus
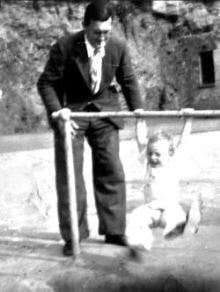
Quartermaster Robert Ironside
Courtesy of Denis Ironside
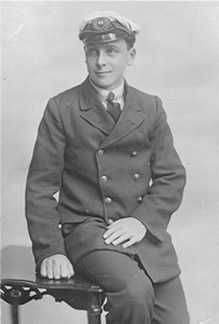
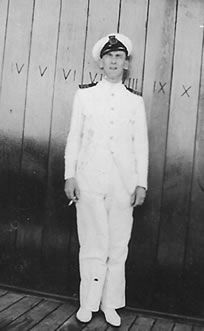
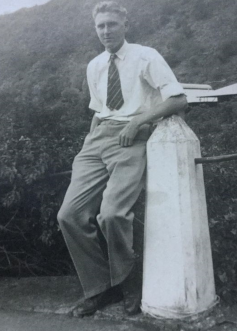
Capt. Thomas D. McCall as a Cadet 1915 - 1918
Courtesy of Tom Miller-McCall
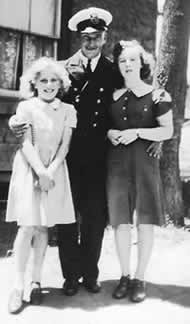
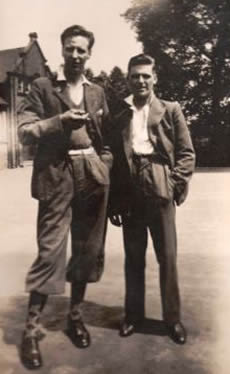
John Tagg (centre) with Dolly (left) and Joan (right) Kingston Ontario 1941
Courtesy of Joan Dodsworth Ware
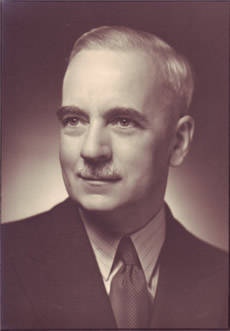
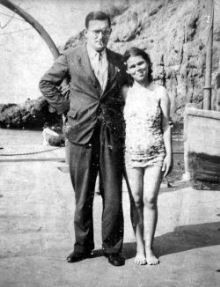
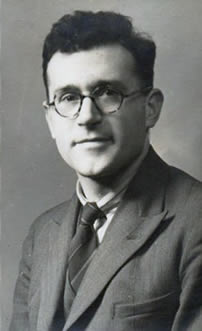
A. Donald Miller
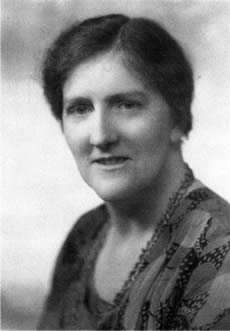
Dr. Marjorie Miller
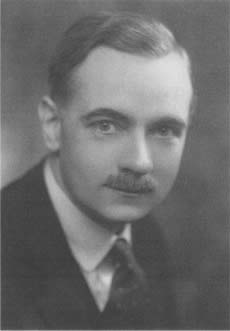
A. Donald Miller
The photos above kindly supplied by niece of A. Donald Miller.
Left - Robert (Tiny) Watts
Robert (Tiny) Watts who died aged 31 on 19th November 1942.
Courtesy of Ralph Barker
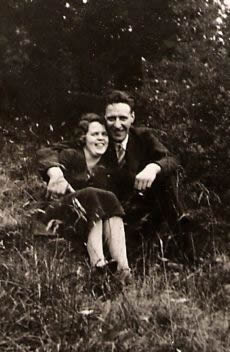
Robert and Ivy Watts
I am grateful to for the above photos of her grandfather who died in No.1 Lifeboat.
Ship's butcher John Nuttall Lost at sea 14/11/1942
Courtesy of Irene Powell
2nd Engineer Bob Gerner
Courtesy of Sarah Quantrill
Asst Engineer David Dick
Courtesy of Will McArthur
William C. Solomon Lost at sea 4.12.1942
Courtesy of Janet Broomhall
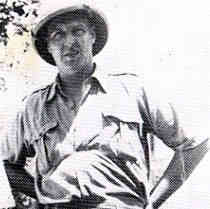
Roland Dodds at St. Helena
Courtesy of Lesley Tulloch

Purser Francis B. McQuone Lost at sea 18.11.1942
Courtesy of Carol Compton
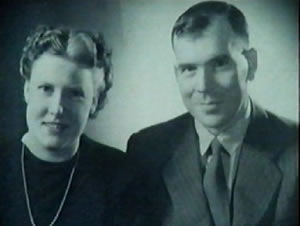
Robert Skea
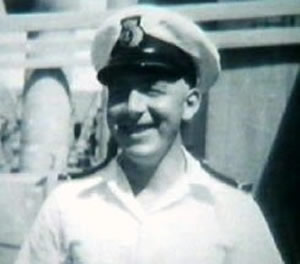
William Stubbs
Stills of Robert Skea and William Stubbs courtesy of
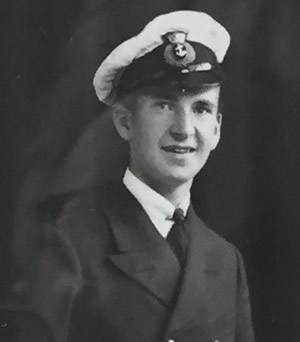
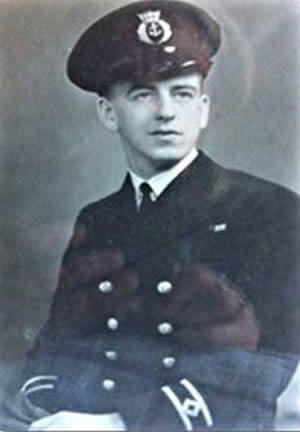
2nd officer John Tagg
Photo courtesy of Professor John Tagg
William and Mona Rooksby
Courtesy of Peter Williams Televison
Robert Ironside
Courtesy of Denis Ironside